Blueberry pierogi are the fruit version of one of Poland’s culinary landmarks: pierogi, Polish dumplings. A sweet delicious blueberry filling is the star in these fruit pierogi, usually served with sour cream and sugar. Is this dessert? I’d have pierogi with blueberries as a main, but they can surely work as dessert, too. Here’s how to make sweet pierogi with step by step photos.
Polish cuisine might not be the most exclusive or the most popular in the world, but it does have its fair share of foods that everybody knows. Pierogis are the brightest star. But they are mostly renown for their savoury fillings:
- cheese and potatoes (pierogi ruskie)
- meat (pierogi z mięsem)
- mushroom and cabbage (pierogi z grzybami i kapustą)
And this is just to name a few. But have you ever heard of pierogi z jagodami (blueberry pierogi)?

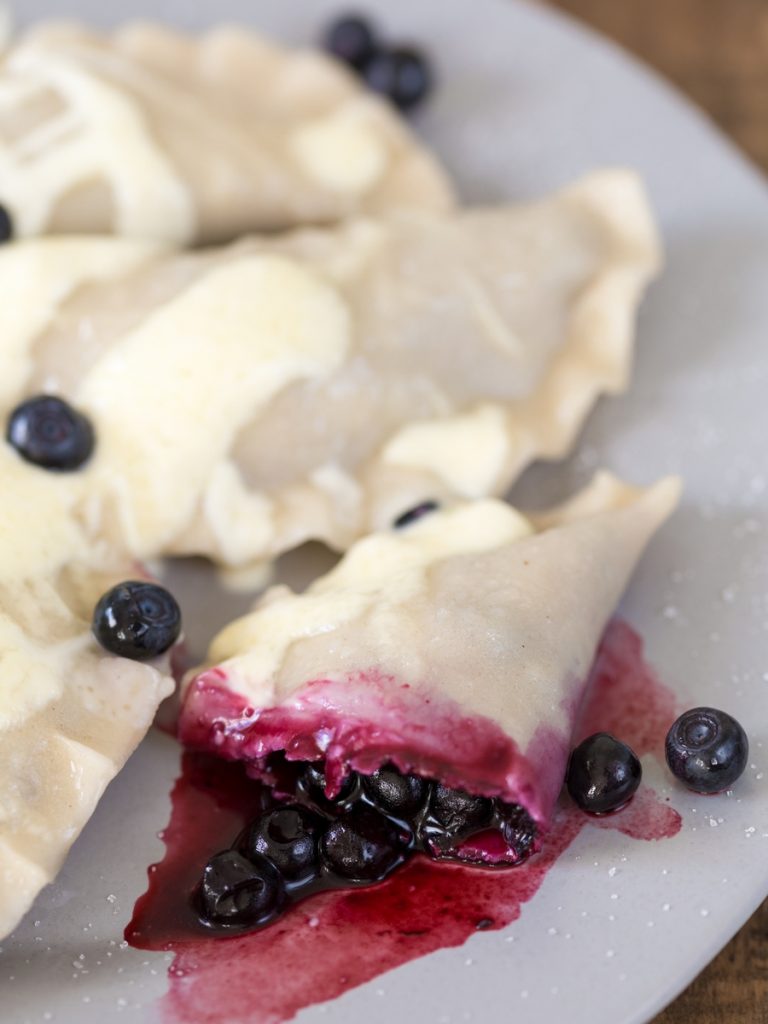
Fruit pierogi
Fruit pierogi are somewhat more niche. Yet some low key restaurants and milk bars often feature them on the menu. Babcia Malina – one of my recommendations on places to have Polish food in Krakow – has some wicked wild strawberry pierogi.
Those that we ate the most at home, though, were pierogi with blueberries. Blueberry pierogies just have to be my favourite type of fruit pierogi.

The ingredients
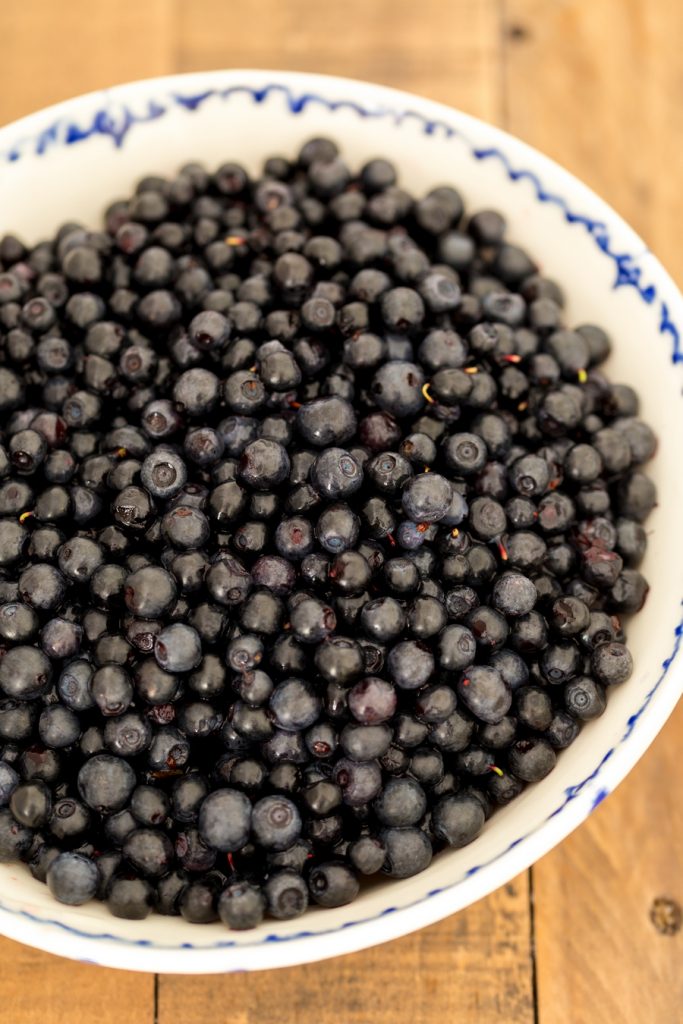
Blueberry pierogi are special for their filling, which is made with:
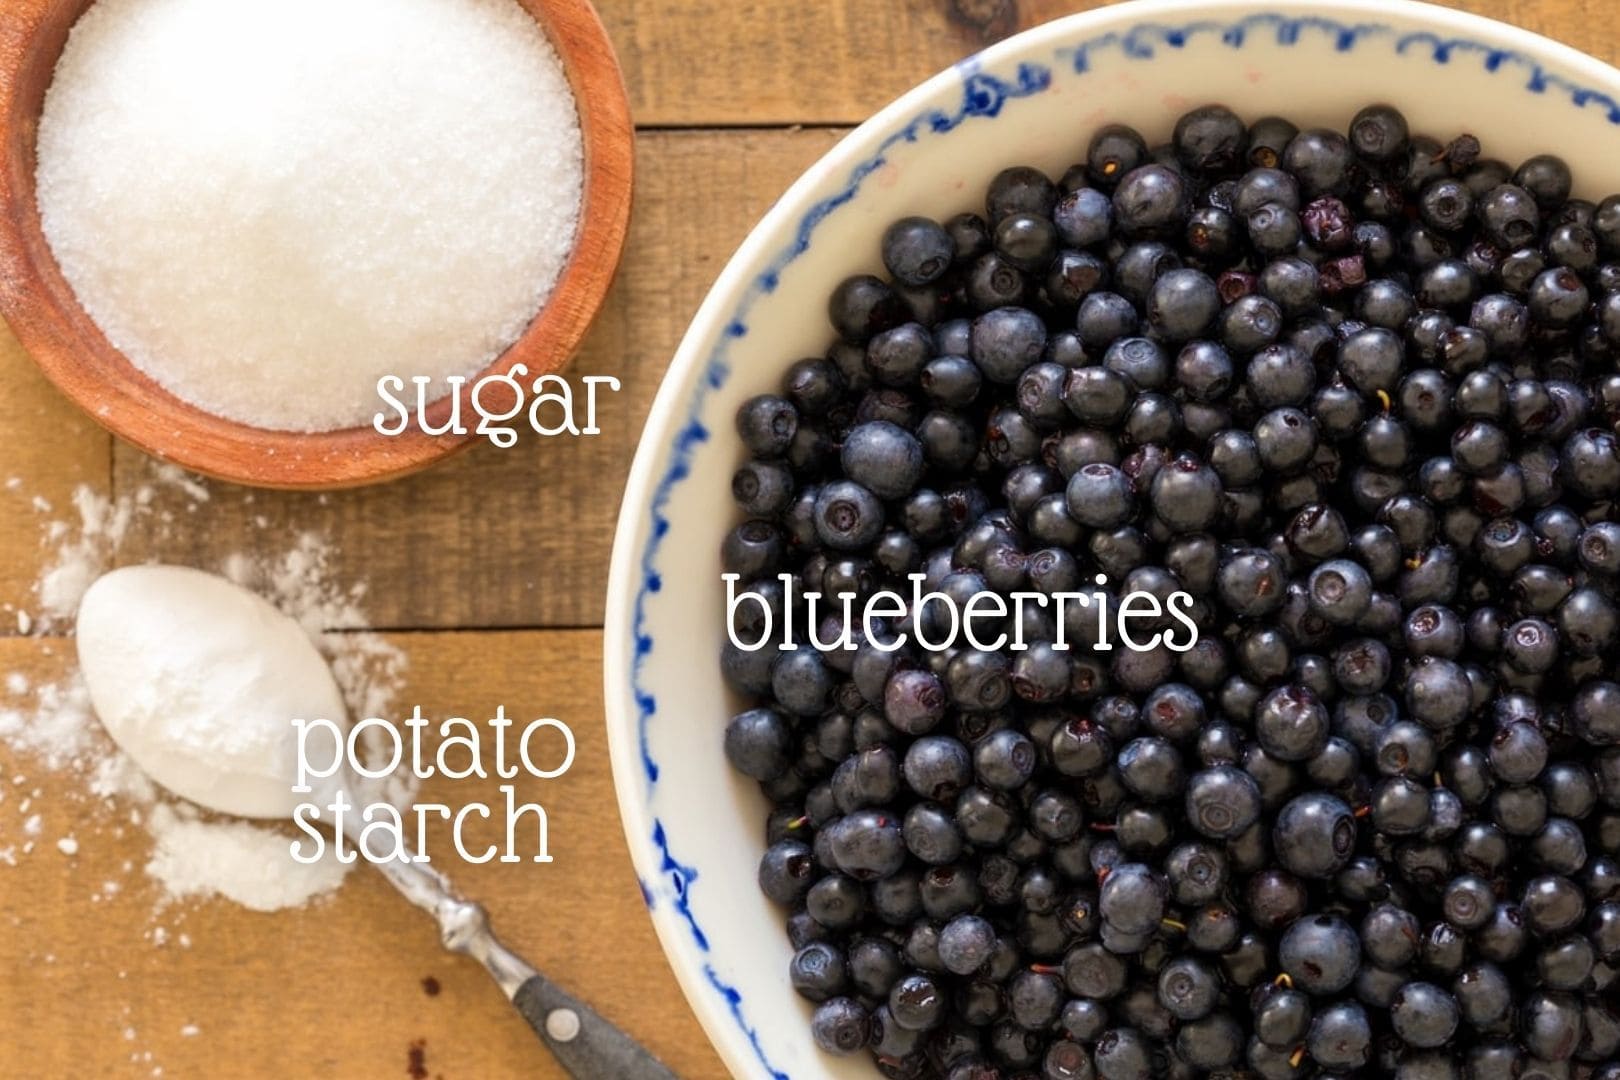
To make the pierogi dough you will need:
- Flour
- Salt
- Vegetable oil
- Boiling water
Please see the recipe card at the bottom of this post for quantities. You can convert the whole recipe to US customary measurements, as well as adjust the number of portions.
Blueberry pierogi recipe step by step
In order to make the most efficient use of your time, I recommend to execute this recipe in the following order:
- Make the dough.
- As the dough rests, make the filling.
- Roll out the dough and fill.
- Cook and serve.
Step 1: make pierogi dough
- Set the kettle on and bring the water to a boil.
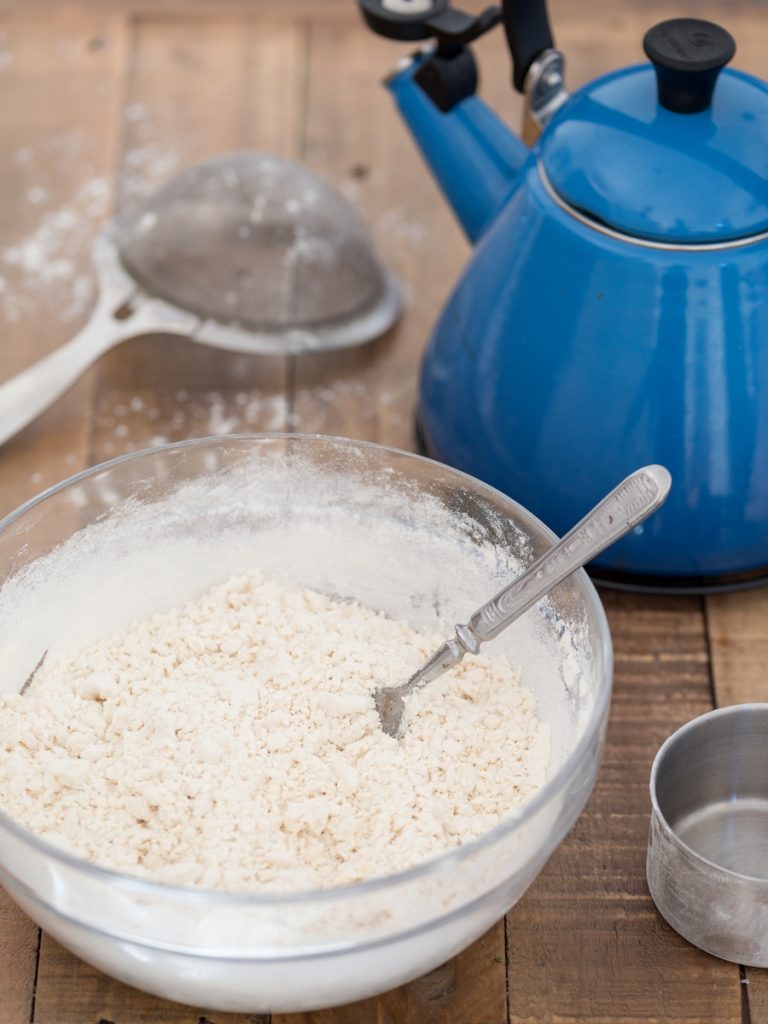
- Sift the flour and salt into a large mixing bowl. Pour in the oil and then the boiling water and stir with a spatula. Cover the bowl with a tea towel and allow the dough to cool a bit for 5 minutes.
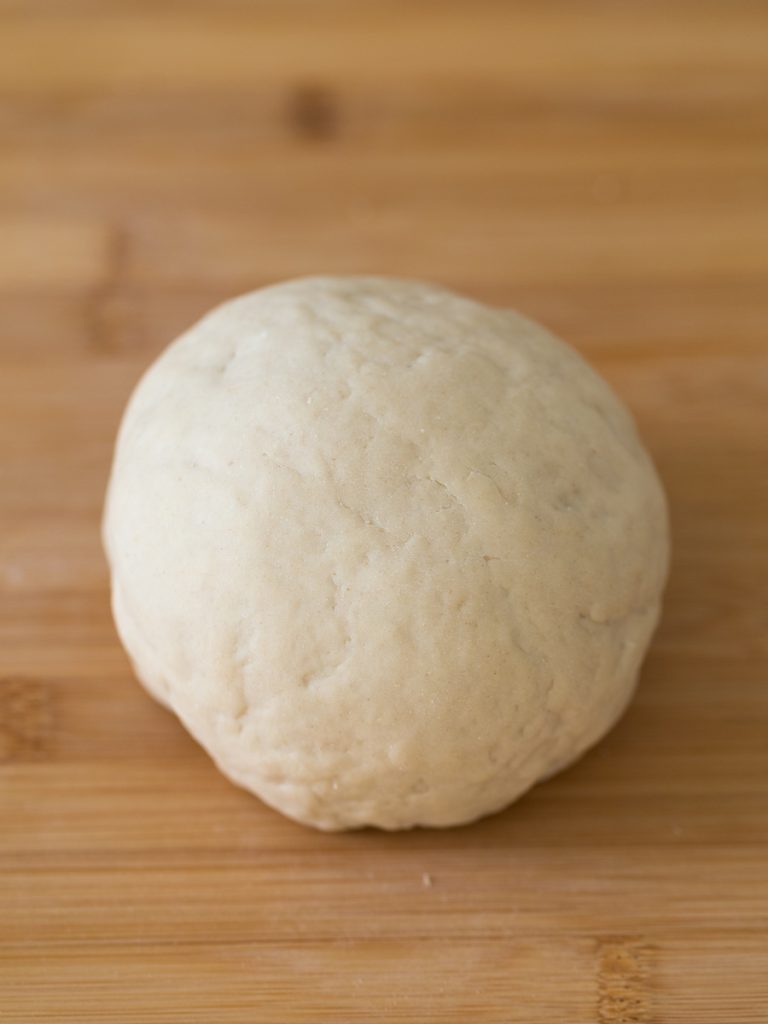
- Turn the dough over a working surface and knead 5-10 minutes, until homogeneous. Depending on the flour used you may need to add a minimal amount of water to get the right consistency. Good pierogi dough should feel soft and elastic to the tough but not sticky. Adjust with either an extra dusting of flour if sticky or by wetting your hands if too dry. Form it into a ball and cover it with an upside down bowl. Rest 10 minutes.
Step 2: make the blueberry pierogi filling
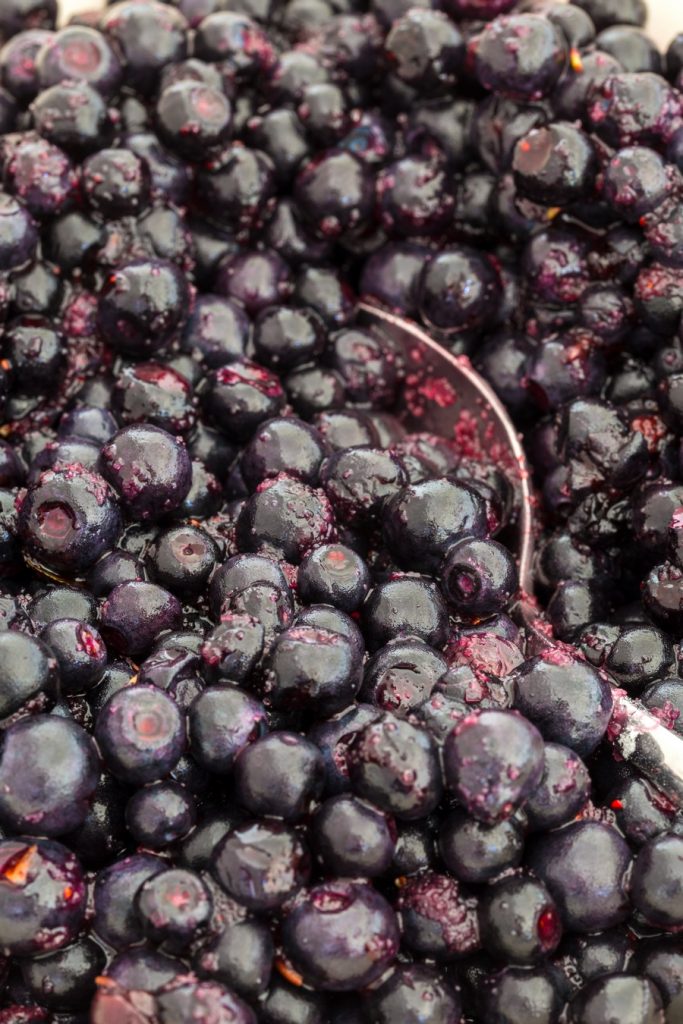
- Combine the blueberries, sugar and potato starch in a bowl and toss. Be gentle with the blueberries and try not to squash them. Being combined with sugar they will release some juice, but we are adding the starch to help absorb it.
Step 3: form the pierogi
- Cut out about 1/3 of the dough and place it on a lightly floured surface. Keep the rest of the dough under the bowl to prevent it from drying out. With a rolling pin roll out the dough until about 2 mm thick. Keep in mind not to flip the rolled-out dough as you want to keep one side stickier with no flour on it.
- Cut out circles with a cookie cutter or the rim of a glass. If the dough is elastic enough you should be able to further thin it to 1 mm by lightly pulling at it when you take each circle in your hands. However, if your dough is not very elastic, use the rolling pin to roll out each circle individually to thin them to 1 mm.
- Place cut-out leftover dough under the bowl with the rest of the dough and proceed to fill the pierogies. I recommend to work in batches, and knead the remains of the previous batch together with the next portion of dough.

How do you fill pierogies?
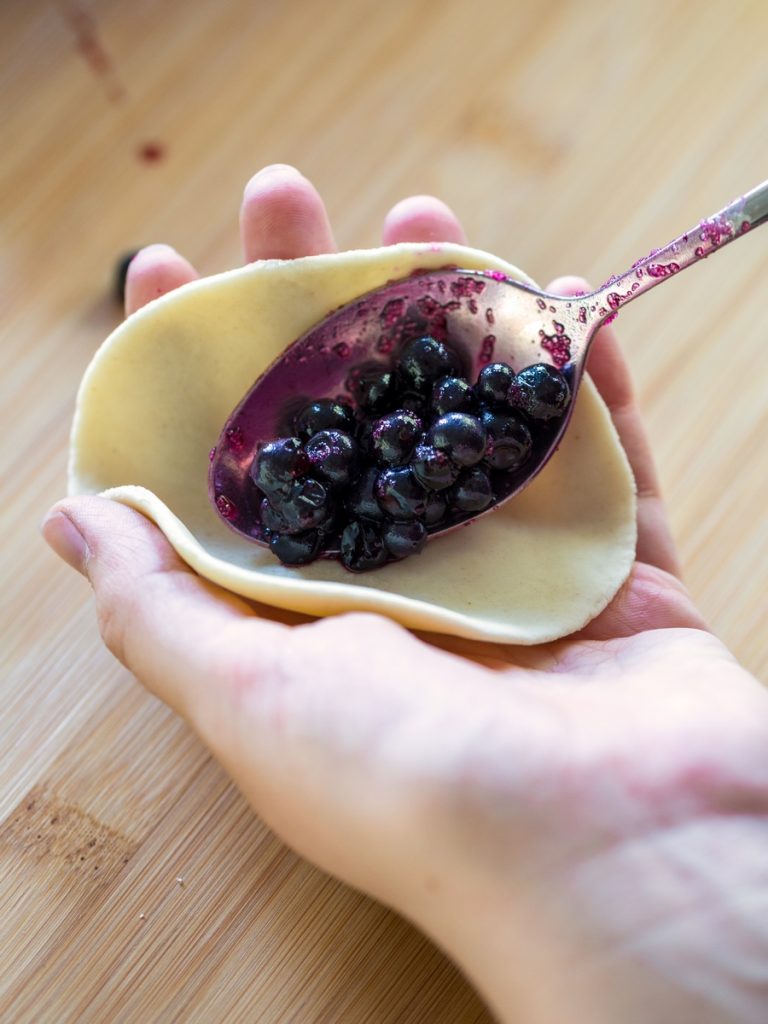
- Have one dough circle in the palm of one hand and add about 1 tbsp of filling to it.
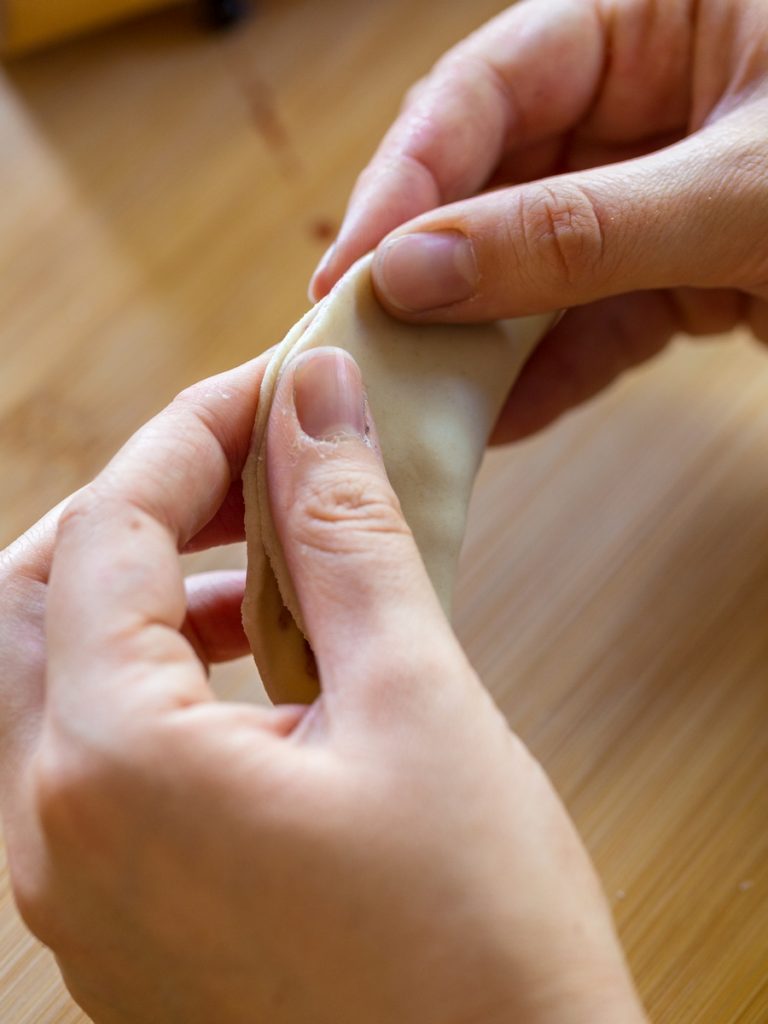
- Fold the pierogi trapping the filling inside, pressing the edges of the dough to close it in. Watch out for juice leakage, try to keep the pierogi horizontal.
- To tighten the seal and give a nice finish, pinch the edges between three fingers (thumb and index pinching one side, middle finger pressing from the other side – see picture below).
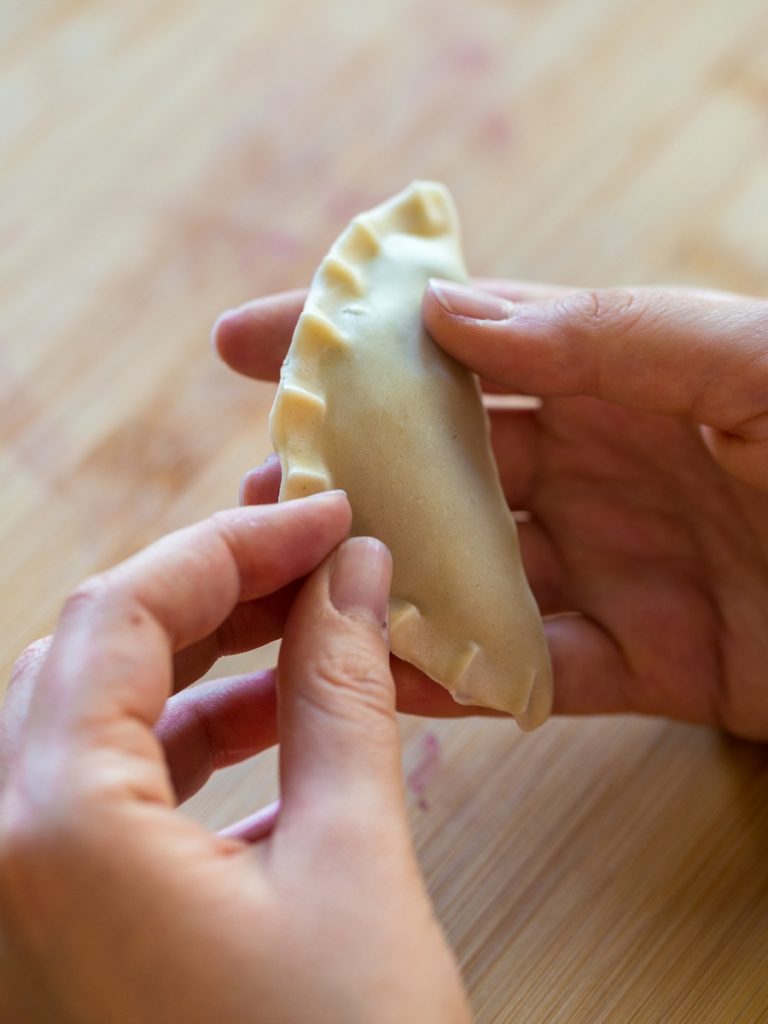
- Place your unbaked pierogies on a tray lined with baking paper to prevent them from sticking to the surface they lay on. Alternatively you can have them on a lightly floured surface. Make sure to space them out enough not to have them overlap.

Recipe tips & troubleshooting
Help! My edges won’t stick together!
If your dough has been sitting too long before you got to the filling part, the edges may not stick when pressed together. To avoid this problem you can:
- Lightly wet the edges to make them stickier by running a wet finger around the edge of the pastry circle;
- Work in batches: roll out one batch, fill it, then proceed rolling out another batch, and so on;
- Get an assistant and work as a team: one rolls out the dough, the other assembles. That’s how my grandma and my mom rolled!
Can I use frozen blueberries?
Yes, of course. Although I mostly make blueberry pierogi as an excuse to use up the blueberries I harvest in the forest, I have made pierogi with frozen blueberries. My recommendation would be to not thaw, but toss with sugar and starch when frozen.
Even if sugar-coating them frozen, blueberries thaw rather quickly at room temperature. Thawed blueberries will release even more juice than fresh ones do, so be very careful when filling the pierogi. Some juice may leak and stain the edges of your pierogies. As long as you properly pinch the pierogi sealed, that’s no big deal. In fact, I quite like those that are slightly purple.

How to cook and serve blueberry pierogi
Pierogi cook like any type of fresh pasta in lightly salted boiling water. Add them to the boiling water and cook for 3-4 minutes, until they float. Cooking time depends on thickness of the dough – if yours is quite thick, you may need a couple of minutes more.
I recommend to cook the pierogi in batches and take the cooked ones out of the water using a skimmer. The use of a skimmer is recommended even if making just a small batch that fits the pot all at once. Cooked pierogi might be too soft to sustain draining through a colander like regular pasta.
Plate the cooked pierogi and top with sour cream and sugar. Smacznego!

More Polish desserts
If serving dumplings is not quite your idea of dessert but you want to try a Polish dessert, here are some other recipes you may be interested in:
- Polish honey cake with semolina cream – this is my favourite Polish cake. Traditionally made with thin layers, I follow my grandma’s recipe for thick honey cake layers filled by her delicious semolina buttercream.
- Polish apple and cocoa cake – inspired by a German recipe, this apple and cocoa cake is deliciously soft, making for the perfect cake to enjoy with a cup of coffee at breakfast.
- Polish cheesecake with canned peaches – inspired by Polish cheesecake here comes this naturally gluten-free crustless ricotta cheesecake that is light and delightful!
Have you ever tried fruit pierogi? Or pierogi with blueberries in particular? I would like to hear your thoughts on this Polish delicacy. Let me know in the comments!
If you tried this recipe, let me know your thoughts in the comments. If you’re planning to try it another time, pin this recipe to Pinterest. Please consider subscribing to my newsletter and following me on Instagram and on Pinterest.


Originally published August 2015. Updated with new pictures in September 2020 and new text in August 2021.
Blueberry pierogi
Equipment
- Mixing bowls
- Fork, spoon
- Rolling pin
- Cookie cutter
- Pot and skimmer
Ingredients
- 400 g flour
- 250 ml boiling water
- 3 tbsp vegetable oil
- pinch of salt
- 500 g blueberries
- 2 tbsp potato starch
- 6 tbsp sugar
- 4 tbsp sour cream
Instructions
- To make the filling add the blueberries, sugar and potato starch in a bowl and toss to combine.
- To make the dough sift the flour and salt into a large mixing bowl. Pour in the oil and then the boiling water and stir with a spatula. Cover the bowl with a tea towel and allow the dough to cool a bit for 5 minutes.
- Turn the dough over a working surface and knead 5-10 minutes, until homogeneous. Depending on the flour used you may need to add a minimal amount of water to get the right consistency. Good pierogi dough should feel soft and elastic to the tough but not sticky. Adjust with either an extra dusting of flour if sticky or by wetting your hands if too dry. Form it into a ball and cover it with an upside down bowl. Rest 10 minutes.
- Cut out about 1/3 of the dough and place it on a lightly floured surface. Keep the rest of the dough under the bowl to prevent it from drying out. With a rolling pin roll out the dough until about 2 mm thick. Keep in mind not to flip the rolled-out dough as you want to keep one side stickier with no flour on it.
- Cut out circles with a cookie cutter or the rim of a glass. If the dough is elastic enough you should be able to further thin it to 1 mm by lightly pulling at it when you take each circle in your hands. However, if your dough is not very elastic, use the rolling pin to roll out each circle individually to thin them to 1 mm.
- Have one dough circle in the palm of your hand and add about 1 tbsp of filling to it. Close the pierogi in half, pressing the edges of the dough to close it. Watch out for juice leakage. To tighten the seal and give a nice finish, pinch the edges between your fingers. Place your unbaked pierogis on a tray lined with baking paper to prevent them from sticking to the surface they lay on.
- Cut out another third from the dough ball and knead together with cutouts from the first batch. Roll out and cut out circles, then fill and form pierogi. Repeat until all of the dough is used up.
- Cook in lightly salted boiling water for 3-5 minutes until they float. Cooking time depends on thickness. Remove from boiling water using a skimmer.
- Plate the cooked pierogi and top with sour cream and extra sugar, if desired.
Notes


Interesting, looks delish too!
Thank you Ms.K 🙂
The purple colour bleeding out at the edges looks so pretty. I’m used to savoury dumplings so these fruit ones seem very different. I’d love to try them.
They’re relly good! Think dumplings, but with blueberry pie filling and you get the idea. You should definitely try them!!
These blueberry pierogies looks magical.
It reminded me of the purple yams that I really love.
Hello!! I don’t know purple yams, I should make some research because now I’m curious. Can you please suggest me a link?
This root crop can be made in to different varieties of dessert. I’ve never made one. I’m just good at eating them.
Here is one type of it that I really like. 🙂
http://salu-salo.com/filipino-purple-yam-dessert-halayang-ube/
Wow, thanks, very interesting! What a stunning colour it has!
These blueberry pierogis look so easy to make. I was looking for recipes with blueberries, so glad I found your recipe! My family loves berries, I will try your recipe this weekend. Thanks for sharing!
Thank you Natalia! Hope your family will enjoy blueberry pierogi!
Love pierogi! But had no idea you can have a dessert sweet version! Amazing can’t wait to try!
Hi Heather! Yes, you can even enjoy pierogi as a sweet meal! Fruit pierogi are awesome 😀
Hav never tried sweet pierogies, but what a great idea using blueberries! I need to try this version and follow all your tips to get the best results. Bravo for a great recipe!
Thank you Adriana! You will not be disappointed!
Thank you so much for sharing your very easy and delicious recipe! Will make it again!
Thank you Allyssa!
I loooove blueberries, and looking at these they look savage which adds a golden star!! i can’t wait to try this recipe, it looks super easy for me who isn’t good at baking…
Hi! This is definitely a great way to enjoy a blueberry sweet but would rather not bake.
Pierogi with blueberries sounds interesting and looks delicious. Thanks for sharing. Pinned to try this soon.
Thank you! Hope you’ll be satisfied!
One of my friends gave me a recipe for her blueberry pierogis years ago, and they were so good! I haven’t made them in ages, so thanks for the reminder! Bookmarked for later 🙂
You’re welcome Cathleen!
I love blueberries so I was really excited to make this recipe. It came out perfectly and I’ll definitely be making it again.
Thanks Jen! Great to hear!
I love pierogis but I’ve never had them in a sweet version. Your recipe looks amazing! I think I have to make those asap.
Hi Enriqueta! It’s definitely time to try a sweet version if you love pierogi!
I love perogies! This is ingenious. I would have them as a dessert or s main. Never had sweetened sour cream, however I am intrigued!❤
Thanks for sharing this, so want to try it!
Thank you!
You’re welcome!
I never had a sweet perogi before this is brilliant! Also a bite size that would be perfect for a snack. Thank you for all the step by step pictures, it is very helpful as I’m saving this recipe for later!
My pleasure, Melanie! Hope you’ll find the procedure easy to follow!