Raspberry chili cheesecake with lime is the ultimate summer cheesecake. The raspberries marry so wonderfully with lime and chili you won’t believe your taste buds. Plus, it’s no-bake, so you can make this lime raspberry cheesecake with chili even on the hottest of days.
Chili in cheesecake? This may sound a bit wild, but I promise that this cake is not hot. Chilies are cooked with the raspberries to make a coulis that is then added to the cream cheese to make this cheesecake’s filling. The actual coulis is quite spicy itself, but once combined with the other ingredients its pungent quality goes very much to the back.
In fact, what you get in the end product is more of an aftertaste of the chili peppers. The first aroma to hit you is obviously that of the raspberries, followed by the tang of the cream cheese and lime. The combined flavour of this cake is that of a raspberry cheesecake with an edge from the chili and lime tones that complement the tasty berries.

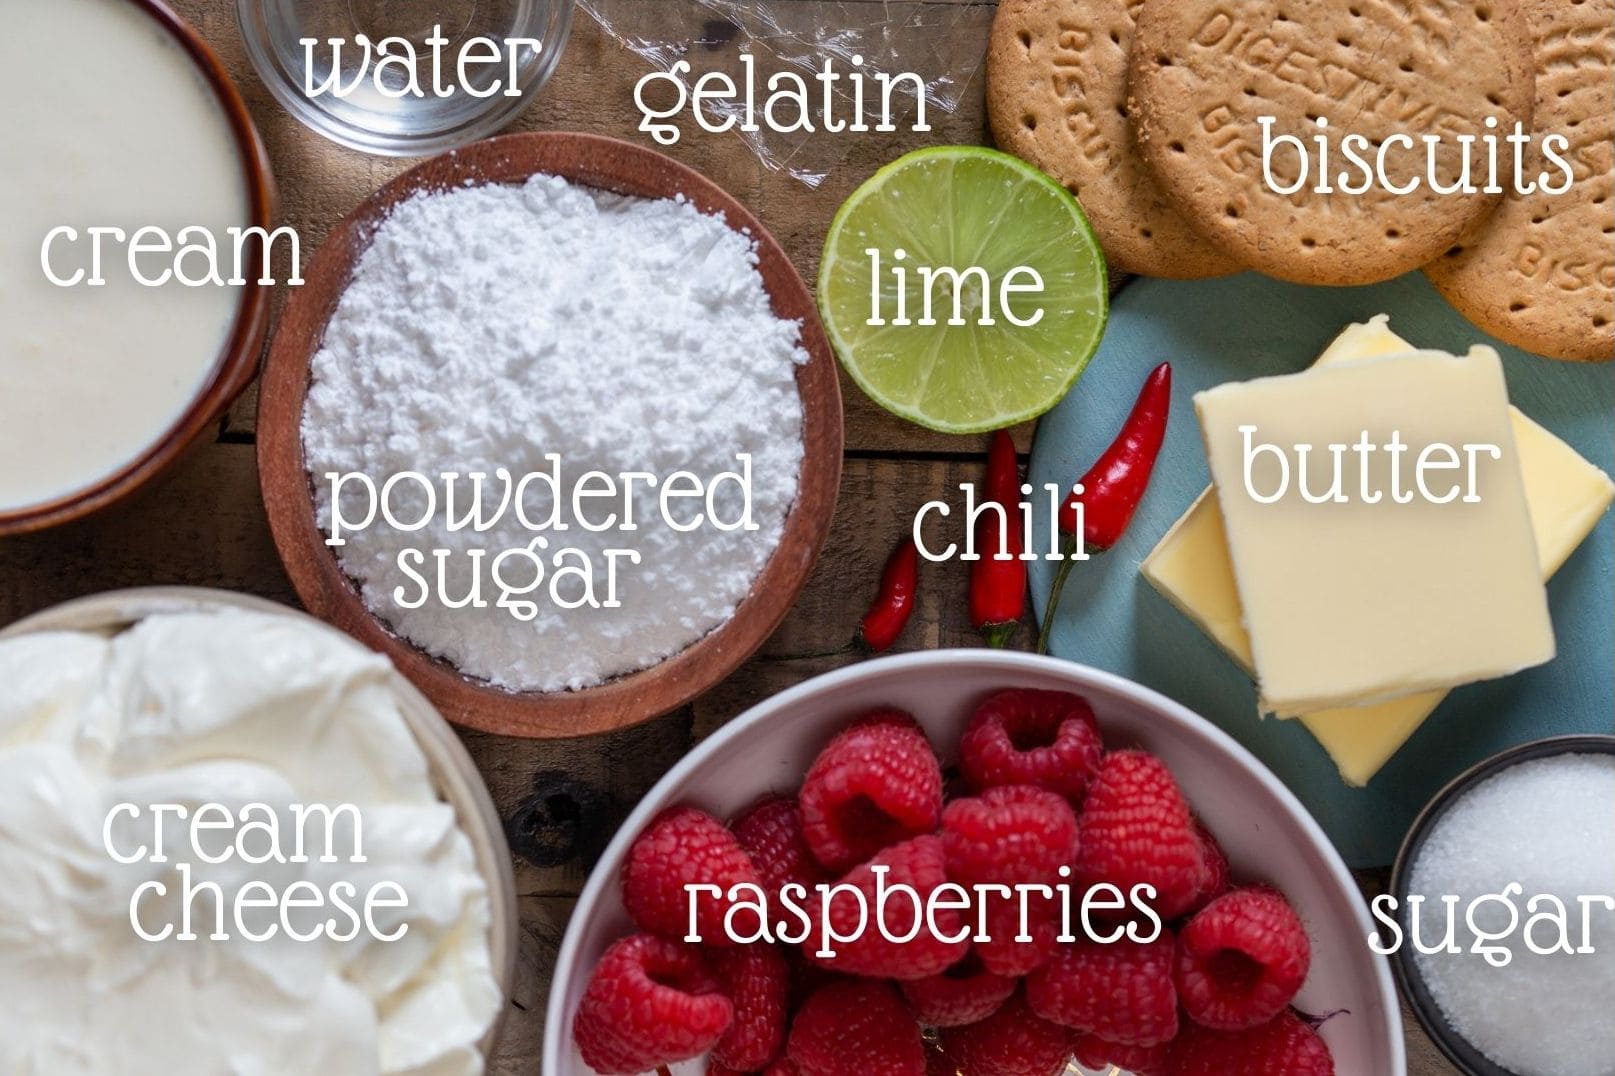
Raspberry chili cheesecake ingredients
Please find detailed quantities, along with recipe instructions in the recipe card at the bottom of this post. Read along for step-by-step images and tips.
How to make it
- Seed the chilies and finely mince. Combine the raspberries, minced chilies, water and sugar in a saucepan and simmer on medium heat for 10 minutes. Remove from the heat and blend with a hand blender (picture below, left). Let cool.
- Soak the gelatin sheets in cold water for a couple of minutes. Heat up 50 ml of whipping cream. Add soaked gelatin to the hot cream and stir to dissolve.
- Crush the Digestive biscuits either using a food processor or a rolling pin. Combine melted butter and biscuit crumbles and toss. Line pan sides with acetate strip (optional). Spread biscuit mixture over the bottom of the pan. Place in the freezer to harden as you make the filling.
- Combine the cream cheese, powdered sugar and lime (juice and zest) and beat at medium speed with a hand mixer. Add the raspberry purée and gelatin mix and keep mixing until evenly combined. In another bowl, whip the rest of the cream to soft peaks (picture below, centre). Fold into raspberry cream cheese mixture in two batches.
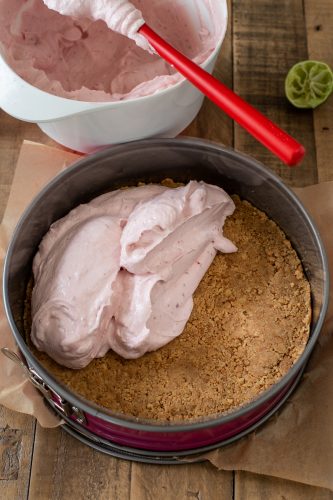
- Pour mixture into the springform pan over the biscuit base (picture below, right). Allow the cake to set in the fridge for a minimum of 4 hours, better overnight.
How to decorate
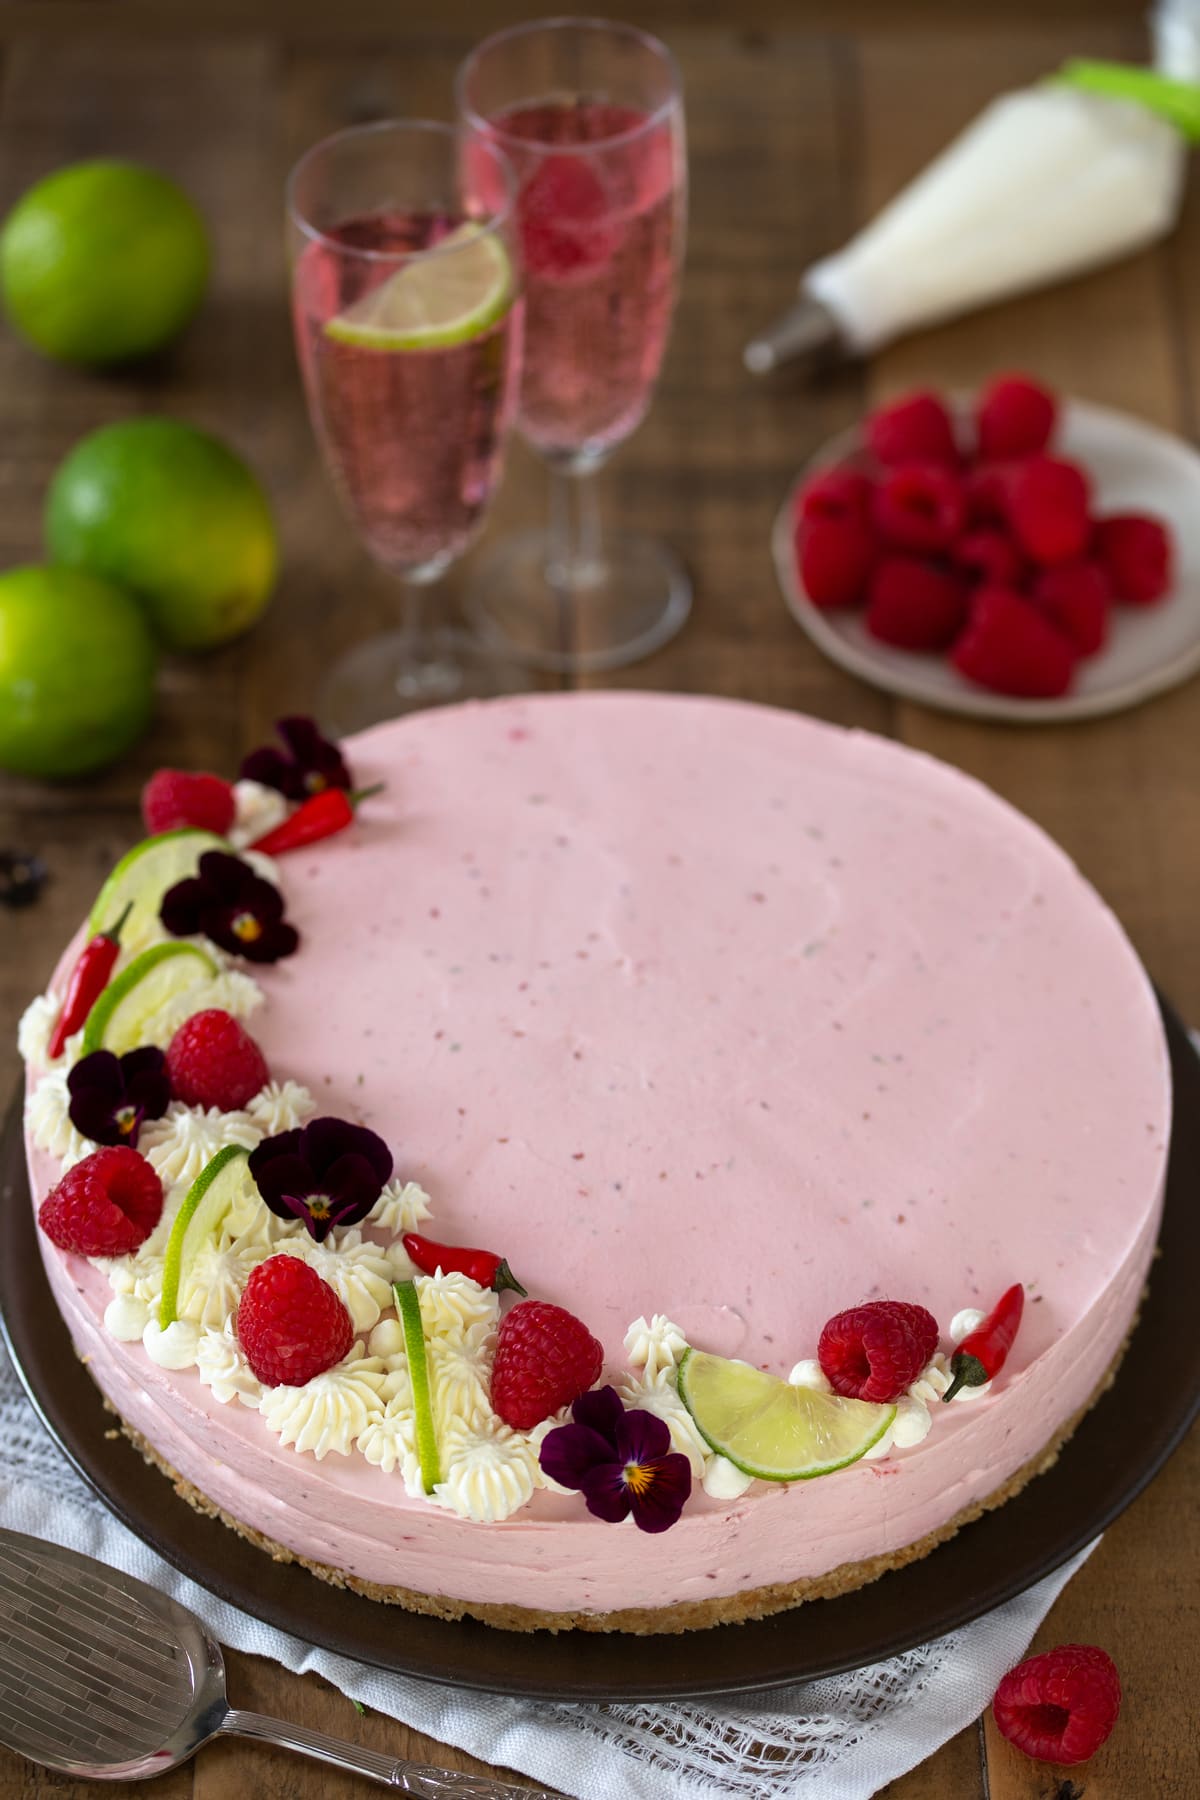
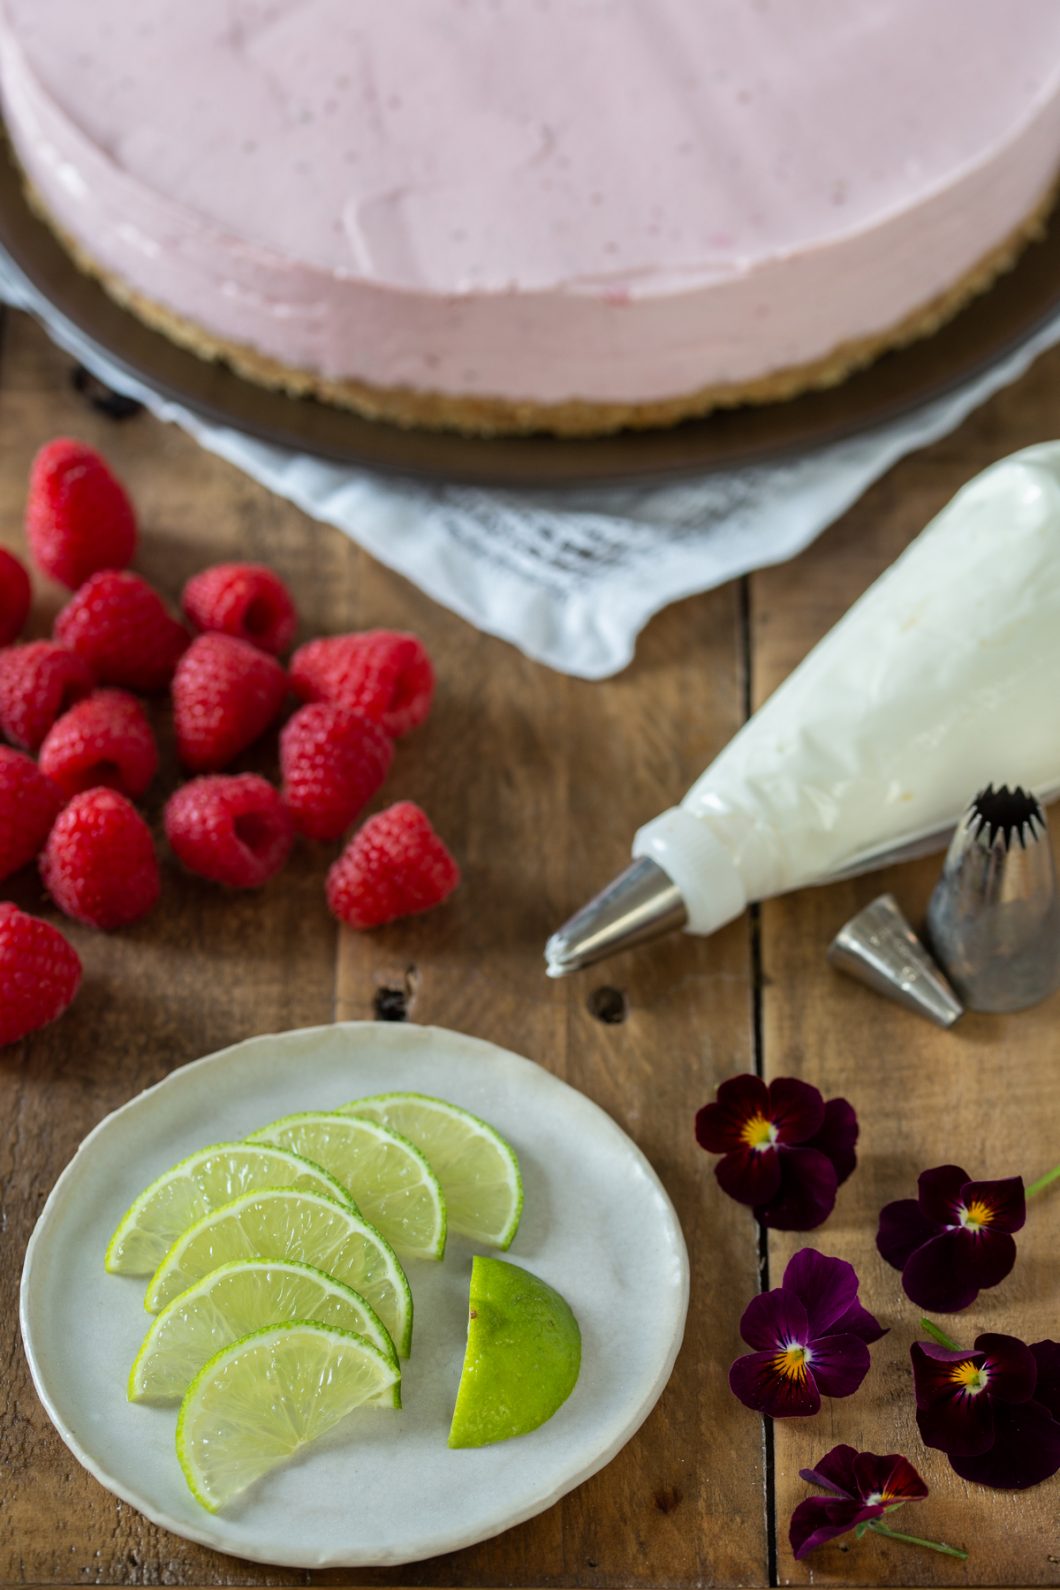
Once set your raspberry chili cheesecake is ready to be served. But I like to add some form of topping to my cheesecakes. Especially if I didn’t get a proper smooth top – I’d rather disguise that. What I like to do with this cheesecake is to decorate it with a hint of the flavours it has inside. Plus edible flowers, because they are so pretty on cakes.
Combine cream cheese, cream and powdered sugar and whip with a hand mixer until thick enough to pipe. Transfer to a piping bag with your choice of tip. Thinly slice the lime. Have your decoration ingredients at hand and take the cheesecake out of the fridge.
I like to start with the piping, to outline how much I want the top to be covered. I like to stick with a crescent moon shape, so that some slices will have no topping. Not everyone may appreciate it. I have used 3 different piping tips to do the job.
After that, it’s all about placing the larger and more colourful items. If you notice that some places still look a bit empty, pipe cream cheese “fillers” with the smallest tip after you have added all the other toppings. I decided to add a couple of chili peppers on the topping, too. May not end up being eaten, but they are so cute.
Raspberry chili cheesecake tips
I have used 2 piri-piri chilies, a chili pepper variety that is quite strong and pungent. The raspberry and chili coulis came out quite hot, but the addition of cream cheese and whipped cream toned it down notably. The end product is not hot, but you get more of an aftertaste from the chili peppers. Feel free to add one more if you really want a kick, but you may want to up the sugar too, in order to remind your brain it’s dessert what the mouth is having.
To get nicer sides I recommend the use of an acetate strip – a cake collar. You can find such a product at baking or hobby stores. A cake collar makes it easy to release the cake from the springform pan, without having to run a knife around the sides. This is completely optional, but I like to use it.
To make this cake you can either use fresh raspberries or frozen. If using frozen, I recommend thawing before use. Thawed fruit weighs less than frozen because it loses part of its water, so make sure to weigh after thawing. For decoration I recommend fresh fruit as frozen ones bleed into the cake as they thaw and get mushy.
How to store + more cake inspo
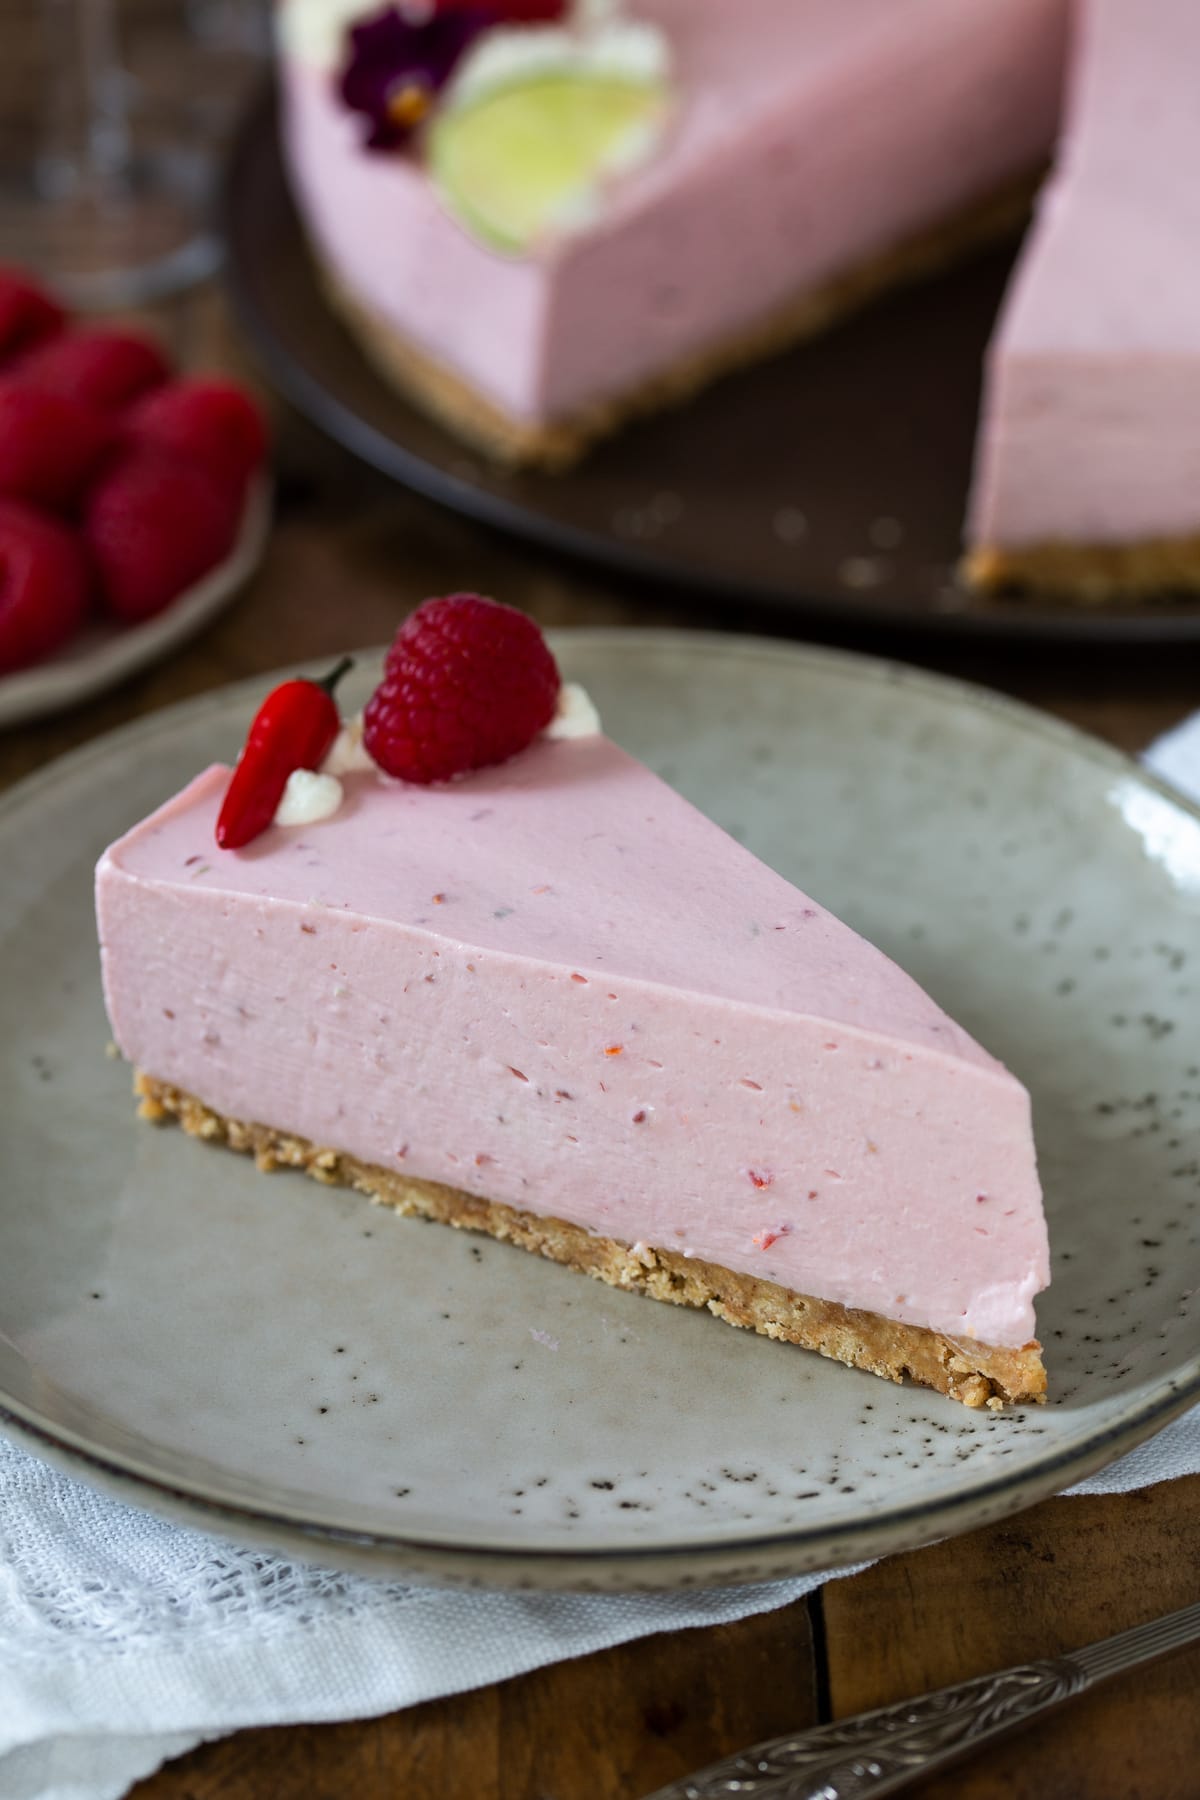
No-bake cheesecake needs to be stored in the fridge. It’s the best way to preserve its texture and freshness. You want to keep it airtight, but with the toppings and all it may be challenging to wrap in cling film. Therefore I recommend a cake carrier or some sort of dome lid. Consume within 5 days, if it will last that long.
For more deliciously fruity desserts you may want to check these out:
- Strawberry limoncello tiramisù
- Raspberry cream puffs
- Small batch raspberry chocolate cheesecake
- Strawberry bavarian cream
- Pavlova with mango cream and blueberries
If you make this lime raspberry cheesecake, please leave me a comment below and let me know your thoughts. As always, you can also pin this recipe for later!
This no-bake raspberry cheesecake was originally published in June 2016. Updated May 2020.
Lime raspberry chili cheesecake (no-bake)
Ingredients
- 200 g raspberries fresh or thawed
- 2 piri-piri chilies
- 1 lime
- 50 ml water
- 50 g sugar
- 200 g Digestive biscuits or equivalent
- 120 g butter
- 600 g cream cheese
- 75 g powdered sugar
- 10 g gelatin sheets
- 300 ml whipping cream
For the top decoration
- 70 g cream Cheese
- 60 ml whipping Cream
- 15 g powdered Sugar
Instructions
- Seed and finely mince the chilies. Combine raspberries, chilies, water and sugar in a saucepan and simmer on medium heat for 10 minutes. Remove from the heat and blend with an immersion blender.
- Soak the gelatin sheets in cold water for a couple of minutes. Heat up 50 ml of whipping cream. Add soaked gelatin to the hot cream and stir to dissolve.
- Crush the biscuits either (in a food processor or with a rolling pin). Melt the butter and stir into biscuit crumbles. Line a springform pan with parchment paper, and acetate strip on the sides. Spread biscuit mixture over the bottom of the pan. Place in the freezer to harden for the time being.
- Combine the cream cheese, powdered sugar and lime (juice and zest) and beat at medium speed with a hand mixer. Add both the raspberry purée and gelatin mix and keep mixing until evenly combined. In another bowl, whip the rest of the cream to soft peaks. Fold into raspberry cream cheese mixture.
- Pour mixture into the springform pan over the biscuit base and place in the fridge to set for a minimum of 4 hours.
For the top decoration
- Combine the cream cheese, whipping cream and powdered sugar. Whip with a hand mixer until thick enough to pipe. Transfer to a piping bag with your choice of tip and pipe over hardened cheesecake. Top with sliced lime, fresh raspberries, edible flowers and chilies.
Notes







Beautiful! Can’t wait to taste it! 😉
I am thinking about trying to take it by bike but I’m afraid it’s not a wise idea. I’ll come by car.
The car is a wise choice.
Yeah…
What a great presentation and fabulous post!
Aww thank you very much for stopping by my blog ^^
Such a lovely post on Croatia too <3
Beautiful no-bake treat! Looks perfect for summer and so tempting. Yum! 🙂
Thank you!! Oh yes, it is really great for hot summer days! 🙂